How To Add a User in gPanel
1. First, click on the plus sign in the upper right hand corner of the User Management screen.
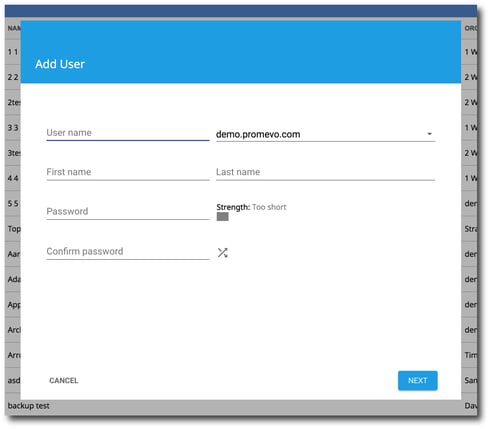
2. The Add User window will appear and prompt you for the new user's information. Click Next when you have completed this section.
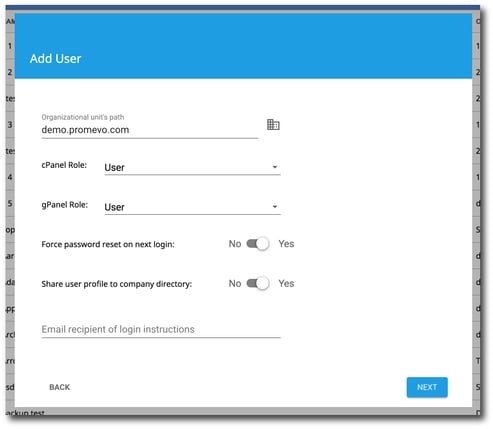
3. The next section will prompt for more user information. Click Next when you have completed this section.
Here's an overview of each of the configurations on this screen:
-
Org Unit: This field allows you to assign your new user to an organization unit within your domain. By default, all new users are placed in the top-level org unit.
-
cPanel Role: This field allows you to assign your new user a role, either Admin or User, in the Google Admin console. By default all new users are in the User role.
-
gPanel Role: This field allows you to assign your new user a role in gPanel. By default all new users are in the User role. Any custom roles that you create will also be listed here so that you can assign them to users if you desire.
-
Force password reset on next login: This setting, when enabled, requires your new user to create a new password when they first login to their new account. The toggle is set to "Yes" by default to help keep your system secure.
-
Share user profile to company directory: This setting, when enabled, will share the user's profile information to the company directory. The toggle is set to "Yes" by default.
-
Email recipient of login instructions: This field allows you to send your new user a notification about their new account on your domain. If you choose to send your new user a notification using this feature the user will be given login instructions and their password. If you wish to send the notification, enter the email address you wish to notify here.
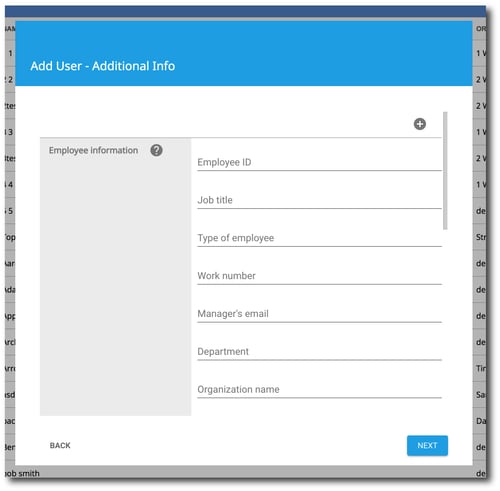
4. The next section is where you can configure additional information for the user.
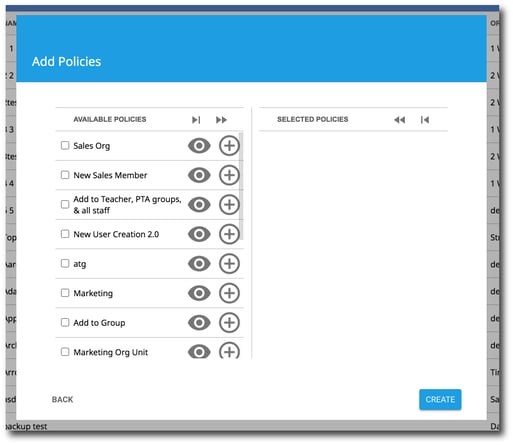
5. The next section is where you have the option to select a New User Policy to run. Learn more about new user policies here. Click Create when you have completed this section to create the user.
