How To Add Google Workspace Licenses in gPanel
Before you begin
This feature is not available if you are on a flex plan. If you are on a flex plan and need to add Google Workspace licenses in gPanel, you need to add more users. A license will be automatically added for the users created.
How to add Google Workspace licenses in gPanel
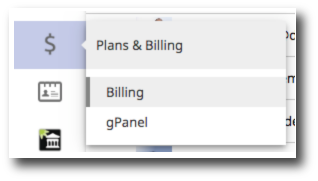
1. On the left side navigation, hover over the dollar sign and click Billing.
If you do not see a menu like the one below, you may be currently set as a "User" within gPanel. If that's the case, you'll need to ask your domain administrator for access to gPanel. Especially if you are planning to complete more admin actions in the future.
2. This takes you to the subscriptions page. This will show you details about your Google Workspace subscriptions and will be the billing home page. Find the subscription that you would like to add licenses to and click anywhere in the white box.
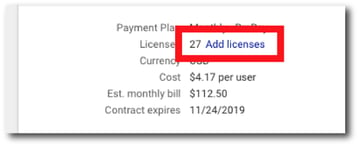
3. Once you click anywhere in the white box, the subscription details will open. Click Add licenses.
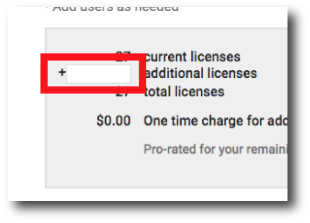
4. Enter the amount of licenses you would like to add and click Continue.
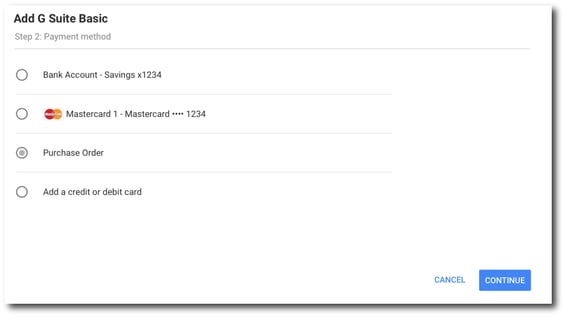
5. Depending on your plan, you will be taken to a payment methods page. Select your preferred payment method for these additional licenses and click Continue.
 '
'
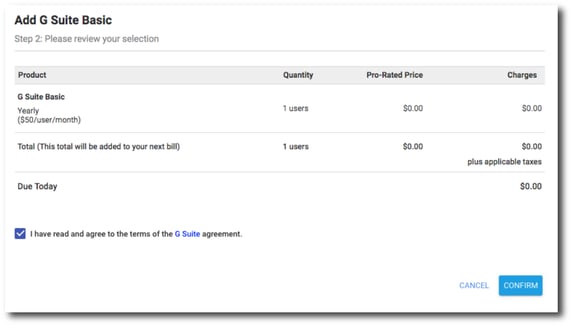
6. Review your order of additional licenses and click Confirm.
