Welcome Templates
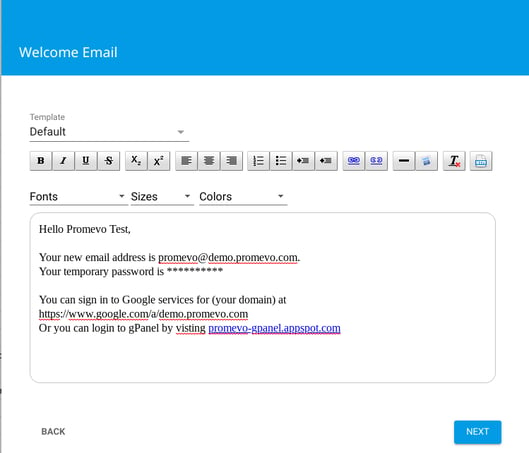
Whenever you’re onboarding a new user/employee, you’ll go through the account creation process in gPanel. When you create a new user, you can send their personal email a welcome letter with their new business email address’ login information. You can send the default welcome letter which will provide the user with a basic welcome message and their new accounts login information. You can use this tool to customize that welcome message. If you have any information that is specific to your company, you’ll be able to add that to the welcome letter for your new user(s).

Create a new welcome letter template
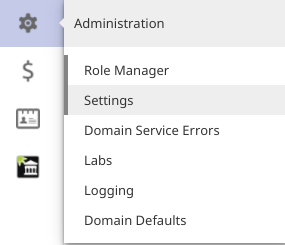
1. To create a new welcome letter template, you’ll need to access your gPanel settings under the Administration (gear icon) section in gPanel.

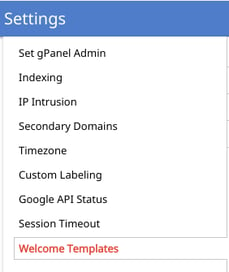
Once you’re in your administration settings, the very last option will allow you to create or edit your welcome templates.

Once you select ‘Welcome Templates’ in your administration settings, it will pull up a list of the templates you have created or you’ll have the option to create new ones. You can create a new template by selecting the ‘Add’ button in the upper right corner. If you would like to edit a welcome template that’s already created, you’ll hover your mouse over the template name. Once you’re hovering over the template, it will highlight it in yellow with an option to ‘Edit Template’ over on the right.

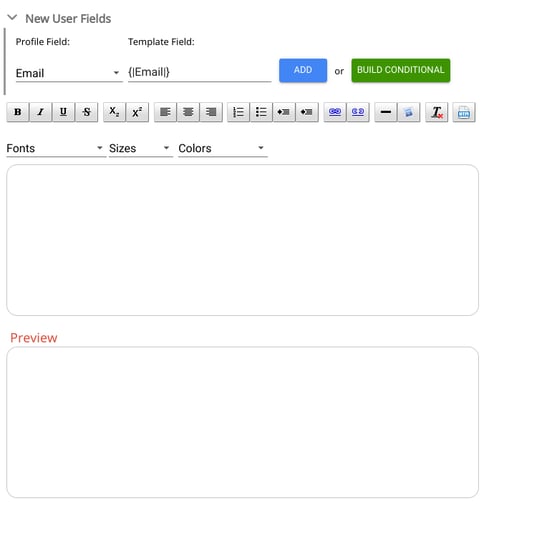
Once you’ve selected the option to add or edit a welcome template, you’ll be brought to the following page shown down below. Here you can configure your template and add any profile fields, messages, images, URLs, ect. that you would like to have included in the message.

Once you’ve customized your welcome letter template to your liking, there will be a save option in the upper right. You’ll have the option to then send this welcome letter whenever you go through the new user creation process.
